

Easy Biscuit Recipe (Only 2 Ingredients)
These easy homemade biscuits are made with just two simple ingredients for the dough and bake up soft, fluffy, and buttery every time. Whether you're making breakfast, serving dinner, or just craving a warm biscuit with jam, this foolproof recipe is perfect for beginners and seasoned home cooks alike.

There's something special about pulling a pan of warm, homemade biscuits from the oven. While many biscuit recipes require several ingredients and techniques, this family favorite keeps things incredibly simple.... and don't get me wrong, I love pulling out a pre-made frozen biscuit out of the oven to keep it easy, but love making these when I have a few extra minutes.
Using just self-rising flour and heavy cream, you'll have tender, fluffy biscuits with very little effort. The heavy cream provides both the fat and moisture needed to create soft layers without having to cut cold butter into the flour.
Before baking, the biscuits are placed into melted butter, creating golden bottoms and crispy edges. A final brush of melted butter after baking makes them even more irresistible.
Whether you're serving them with sausage gravy, homemade jam, fried chicken, or using them for breakfast sandwiches, this easy biscuit recipe belongs in every home cook's recipe collection.
Step by Step video is below!
📝 Ingredients
- 2 cups self-rising flour, sifted if possible
- 1½ cups heavy cream
- 5 tablespoons butter, divided
👩🍳 Directions
- 1
Preheat oven to 450°F.
- 2
In a large bowl, combine the self-rising flour and heavy cream. Stir just until incorporated.
- 3
Turn the dough onto a lightly floured surface.
- 4
With floured hands, gently press the dough together and fold it over itself several times to create a smooth dough. Avoid overworking it.
- 5
Press or roll the dough until it is about ¼-inch thick.
- 6
Cut using a biscuit cutter or drinking glass.
- 7
Melt 3 tablespoons butter in a cast-iron skillet or 8x8-inch baking dish.
- 8
Place the biscuits into the melted butter.
- 9
Bake for 10–15 minutes until golden brown.
- 10
Brush with the remaining melted butter and serve warm.
💡 Tips for Success
- Don't overmix the dough. Stir only until the flour is incorporated.
- Sifting the self-rising flour helps create lighter, fluffier biscuits.
- Flour your hands before shaping the dough to keep it from sticking.
- Fold the dough several times to help create tender layers.
- For soft-sided biscuits, place them so they're touching in the pan.
- For crispier edges, leave a little space between each biscuit.
- Every oven bakes differently, so start checking around the 10-minute mark.
❓ Frequently Asked Questions
Can I use all-purpose flour?
No. This recipe is developed for self-rising flour. If using all-purpose flour, you'll need to add baking powder and salt.
Why use heavy cream instead of butter?
Heavy cream contains both fat and liquid, making it an easy substitute that keeps the dough incredibly simple while still producing tender biscuits.
Can I make these ahead of time?
Yes. Cut the biscuits and refrigerate them for several hours before baking, or freeze the unbaked biscuits and bake straight from frozen, adding a few extra minutes to the baking time.
Can I freeze baked biscuits?
Absolutely. Let them cool completely, then freeze in an airtight container for up to three months.
What can I serve with homemade biscuits?
These biscuits are delicious with butter, honey, jam, sausage gravy, fried chicken, ham, bacon, eggs, or even as the base for strawberry shortcake.
Why are my biscuits tough?
The most common reason is overmixing or overworking the dough. Handle it gently for the softest texture
How do I store?
Store leftovers in an airtight container at room temperature for up to 2 days or refrigerate for up to 5 days. Reheat in the microwave for 15–20 seconds or warm in a 300°F oven until heated through.
Can I freeze the biscuit dough I dont use?
Yes - be sure to cut them into biscuits first, then transfer the frozen biscuits to a freezer-safe zip-top bag or airtight container. Label with the date and store for up to 3 months. When ready to cook, Bake at 450°F for 15–18 minutes, or until the tops are golden brown and the centers are cooked through.
🍴 You Might Also Like
 Breakfast
15 minutes
Bacon, Egg & Cheese Crescent Boats
These Bacon, Egg & Cheese Crescent Boats are an easy breakfast that looks way fancier to make than it actually is! Buttery crescent rolls are shaped into little boats, filled with an egg, then topped with cheese and crispy bacon. They’re cute, fun, and make the perfect individual breakfast.
20 minutes
Bacon in the Oven
Crispy bacon without the stovetop splatter! This easy oven bacon is perfect for cooking a big batch for breakfast, brunch, holidays, or a crowd. Just line a baking sheet, add your bacon, and let the oven do the work.
 Breakfast
25 Minutes
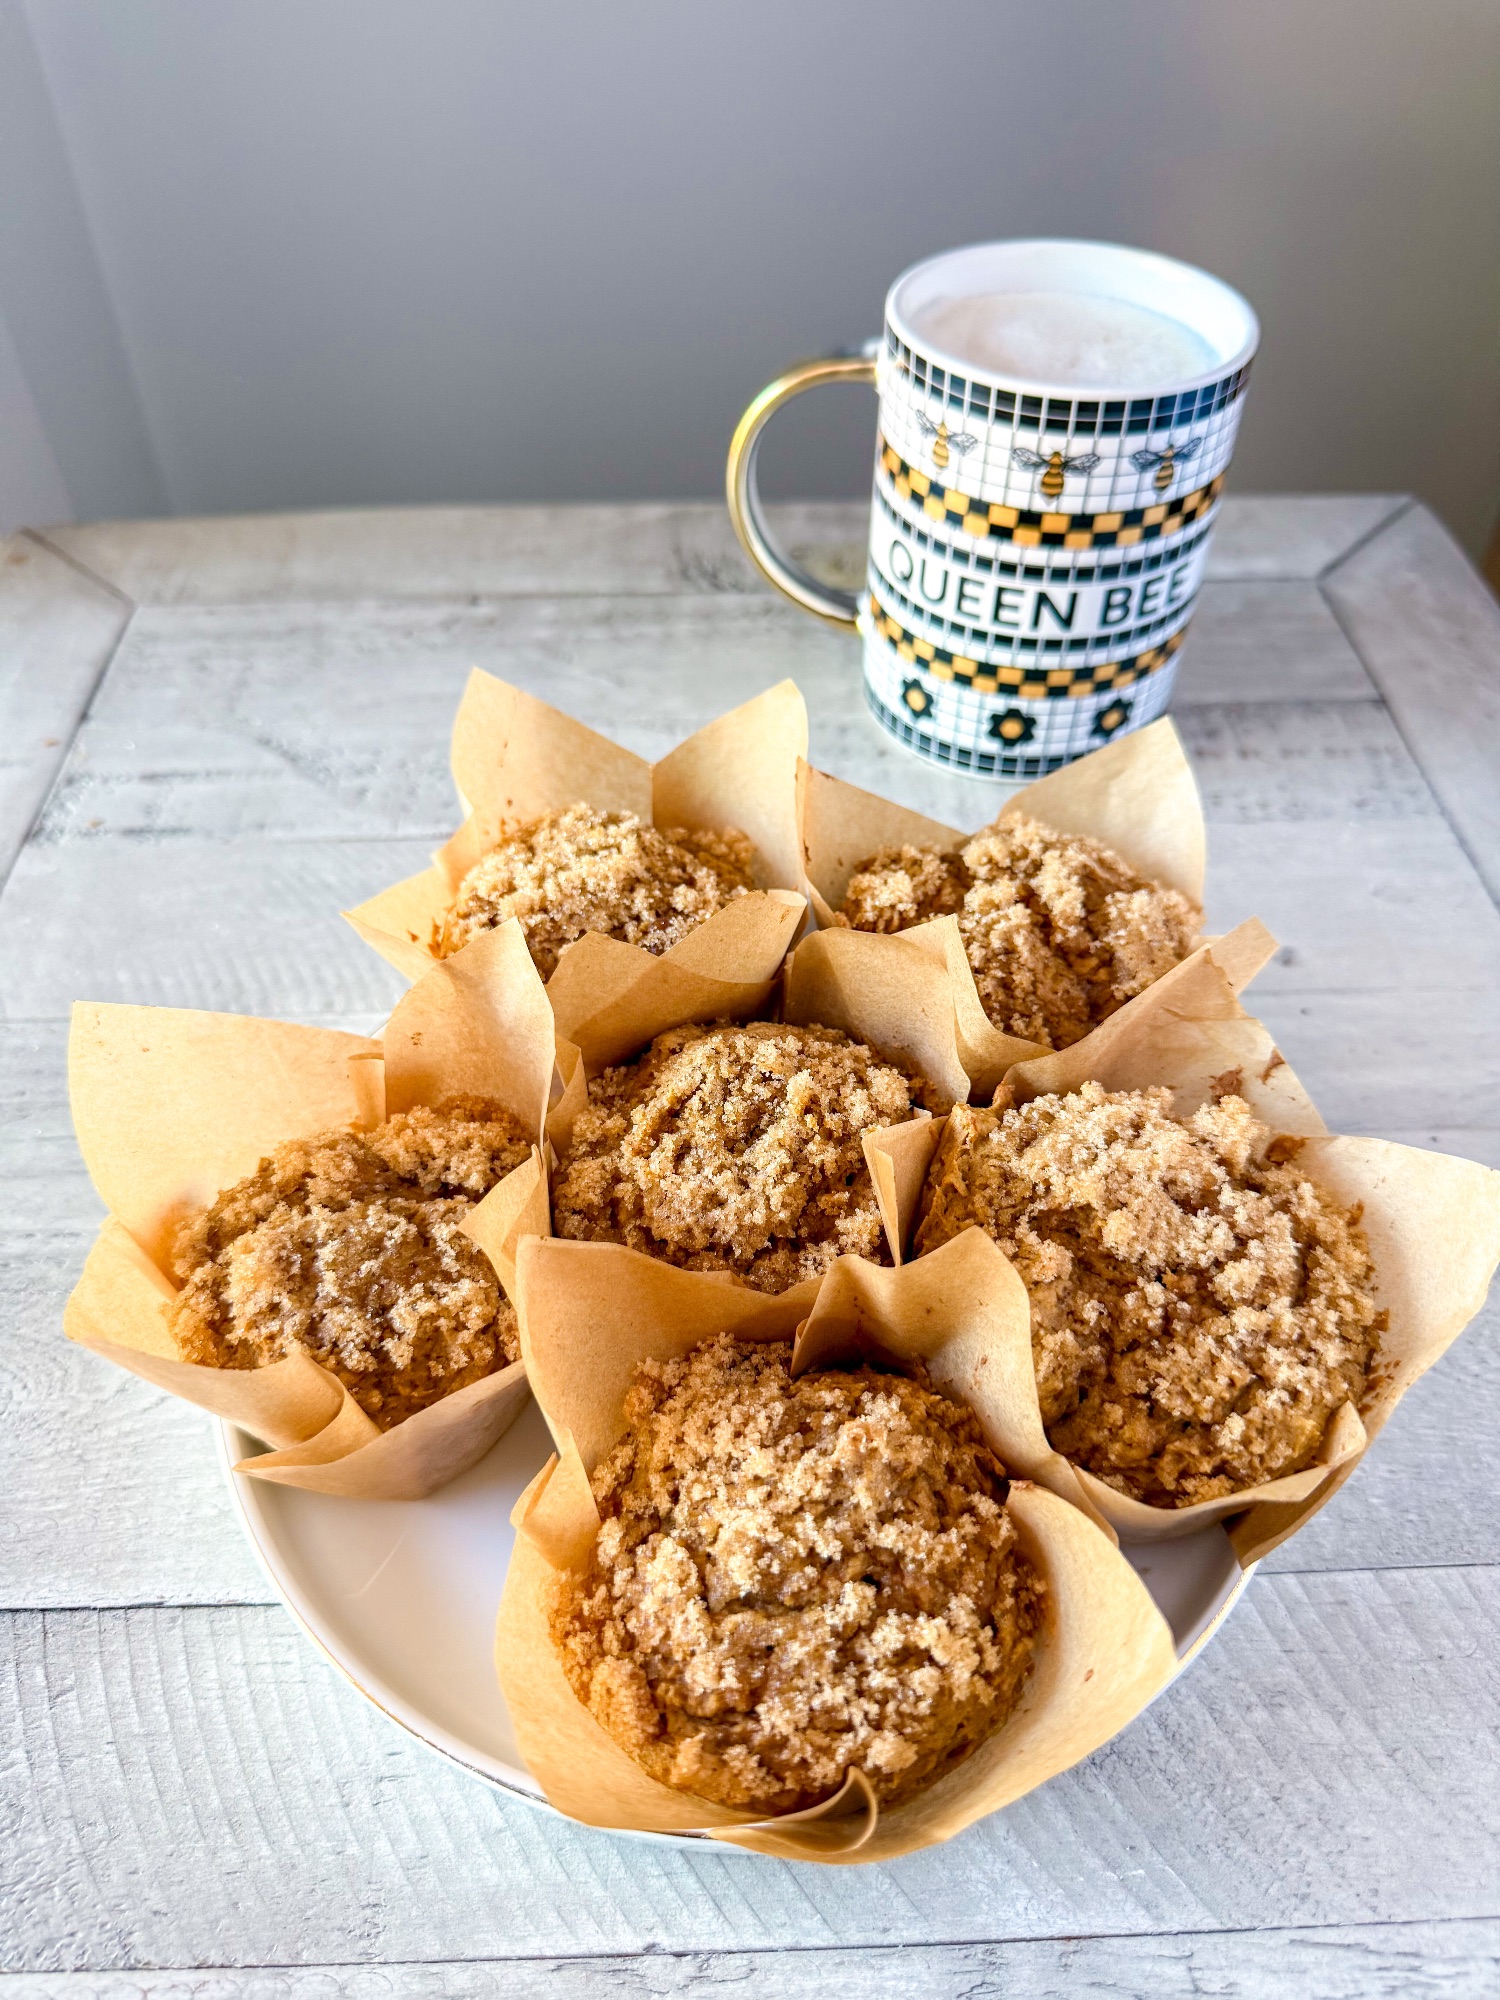
Cake Mix Pumpkin Muffins
These easy 3-ingredient pumpkin muffins are a simple fall treat made with spice cake mix and pumpkin purée, then topped with a sprinkle of brown sugar. They come together in minutes and are perfect with a hot cup of coffee!
Made this recipe?
Tag me on Instagram @holleyinthekitchen — I'd love to see it!Recipe from Holley in the Kitchen: https://holleyinthekitchen.com/recipe/easy-biscuit-recipe-only-2-ingredients